Baldur’s Gate 3 becomes bigger and bigger with every patch it receives. Outside the main three difficulty settings — Explorer (easy), Balanced (medium), and Tactician (hard) — the game now has two extra difficulties, Honour and Custom. Our focus here will be on the latter.
Baldur’s Gate 3: 10 Funniest NPCs, Ranked
From companions to summoned familiars, these character make us all grin.
Custom mode is the equivalent of having a session zero with your Dungeon Master and discussing homebrew rules. Or, for those unfamiliar with TTRPG, you get to alter a few rules in the game, such as making your character stronger or weaker than they should be and resources needed for resting, among other things. We’re here to dive into these options and show you how much you can customize your adventure.
4 Single Save
If you want to practice for Honour Mode, this option might help you. Single Save is the anti-saving scum, forcing your campaign to have a single save slot. Unlike most other options in Custom Mode, this is not something you can change after your campaign begins, so be sure of your choice.
This single file essentially means you won’t be able to test multiple outcomes or return to a save file before an important dice roll just because you failed at it, as the game will automatically save if you choose to return to the main menu. Unlike Honour Mode, however you can still reload the game if you die.
3 Basic Player And Enemy Changes
The core feature concerning your power, as well as your enemies, is the Character Power option. Leaving it in Explorer mode will make you and your companions significantly better, with absurd amounts of extra health, while keeping enemies more docile.
Tactician has stronger enemies while keeping your characters with the correct number of hit points based on their class and Constitution. Balanced does the same to your health, but doesn’t make the enemies as strong as Tactician. You can also regulate Enemy Aggression, making them strategize more in combat and even go as far as attacking downed companions.
Baldur’s Gate 3: 10 Corpses That You Should Talk To
These corpses may be dead, but they have a lot to say in Baldur’s Gate 3.
Enemy Loadouts affect the number and type of enemies spawned in certain areas, and you can also use Additional Combat Mechanics to give enemies extra abilities or extra muscle in certain situations. You can also make it impossible for enemies to do Critical Hits, which kind of makes the Adamantine armor less effective.
Lastly, you have Hide NPC Health, meaning you’ll only be able to see the health of the characters you control. It’s a good way to spice things up, as you won’t know how long it’ll take for enemies to go down.
|
Difficulty |
Explorer |
Balanced |
Tactician |
|---|---|---|---|
|
Character Power |
Characters you control and allies will be stronger and have more health. |
Keeps everyone properly leveled. |
Enemies will be stronger and have more health. |
|
Enemy Aggression |
Enemies will mainly focus on whoever is up and won’t go too far. |
Enemies will be slightly more aggressive. |
Enemies will be ruthless, and strategize more. |
|
Enemy Loadouts |
Enemies will only use simple spells or items. |
Enemies will have more spells or items at their disposal. |
Enemies will have powerful spells and items available. |
|
Additional Combat Mechanics |
Adds new mechanics and extra minions in big fights, like Bosses. |
||
|
Enemy Critical Hits |
Choose whether enemies can do critical strikes. |
||
|
Hide NPC Health |
Remove the number from enemies’ health bar — the bar will still appear. |
||
2 Deeper Player Character Changes
Concerning the characters you control, you can still do a few extra things besides changing the overall Character Power. You can use Proficiency Bonus to give you a higher (or lower) proficiency bonus than you’re supposed to, and they will stack with the regular bonus.
A higher bonus means you’ll pass Ability Checks more often if you have proficiency on them, and your attacks will hit more often, as proficiency plays a role in that, too. Meanwhile, Always Prompt Reactions does what the name implies, having the reaction window pop up whenever a reaction can be made.
Baldur’s Gate 3: 8 Full Custom Party Ideas
Try out these full custom party ideas in Baldur’s Gate 3.
You also have the option to turn off Death Saving Throws. No, that doesn’t mean insta-kill (which would be a fun challenge). It means your character will be stabilized but downed when their health reaches zero, and you can get them back up through help or healing without fearing for their lives.
Disable Free First Strikes lets you choose whether you lose your action or not in the first turn of combat, in case you start a fight by randomly attacking someone who bothers you. As for your resting needs, you can choose to have Short Rests heal you completely and adjust the Camp Cost Multiplier, decreasing or increasing the number of supplies you’ll need to perform a decent Long Rest. Finally, you can turn off the option to do Multiclassing in a very traditional DM fashion.
|
Proficiency Bonus |
-1 |
0 (Default) |
1 |
2 |
3 |
4 |
|---|---|---|---|---|---|---|
|
Always Prompt Reactions |
Opens the reaction window by default instead of toggling reactions on or off. |
|||||
|
No Death Saving Throws |
If your health reaches zero, you’ll immediately be unconscious, with no chance of dying. |
|||||
|
Disable Free First Strikes |
Disable your first turn in combat if said combat starts because you attacked someone out of nowhere. |
|||||
|
Short Rest Full Heal |
Using a Short Rest will heal you completely. |
|||||
|
Camp Cost Multiplier |
0.5 |
1 (Default – 40 supplies) |
1.5 |
2 |
2.5 |
3 |
|
Multiclassing |
You can choose whether you and other players will be able to multiclass during the adventure. (This setting can’t be changed once the game starts!) |
|||||
1 Changes To The World
If money is a problem for you, you can adjust Trader Price Modifier, decreasing the cost of all items, or increase it, encouraging your thieving mercantile skills. You can also use Hide Failed Perception Rolls when exploring, which means you won’t metagame whenever you see a failed roll, and be properly caught off-guard by traps, simulating a more accurate TTRPG experience, only knowing something is up if you pass the roll.
During dialogues, your character will occasionally do passive rolls, too. You can choose not to see the result of these rolls during dialogue, meaning you’ll have to work with the dialogue options you see without having extra information.
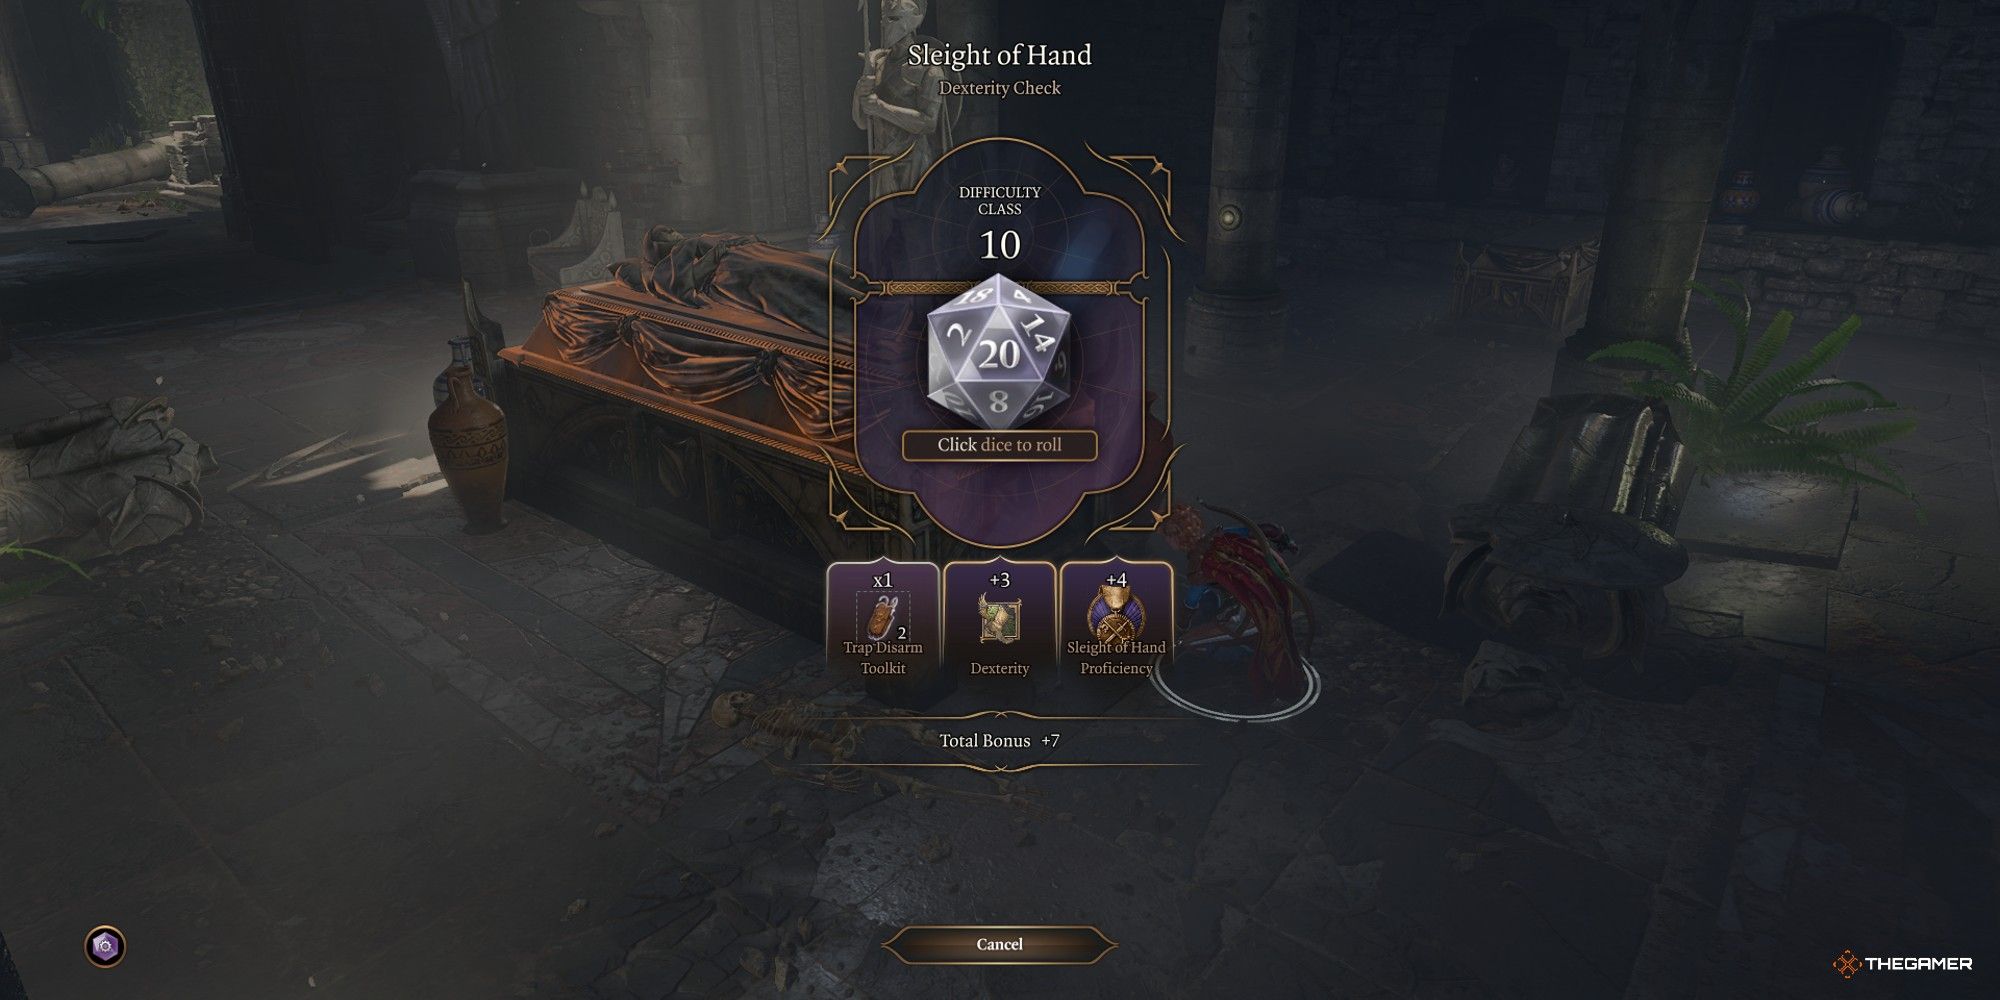
Also during dialogue options, you may have to roll a die to persuade, intimidate, or use another skill. By default, you can check the difficulty beforehand, but you’ll be able to turn that off in Custom mode, as well as turn off the ability to preview how much you’ll need to roll in these situations, simulating a common scenario in D&D, as the DMs don’t always tell you what number you need to hit with your roll.
|
Trader Price Modifier |
Choose a number from one to four. The cost of items is multiplied by this number, and the price of items when you sell them is divided by this number. |
||
|---|---|---|---|
|
Hide Failed Perception Rolls |
If you fail any Perception roll, the game won’t tell you. |
||
|
Hide Passive Rolls in Dialogues |
It stops showing you passive rolls such as Insight that may happen during a conversation. |
||
|
Preview Dialogue Check Difficulty Before Rolling |
It lets you see what exactly you’ll roll in a dialogue option. |
||
|
Hide Difficulty Class During Rolls |
You can’t see how much you need to pass the rolls you make during conversations, lockpicking, or trap disarming. |
||

Baldur’s Gate 3: Biggest Differences In A Dark Urge Playthrough
You might notice a couple of changes.



Leave a Reply